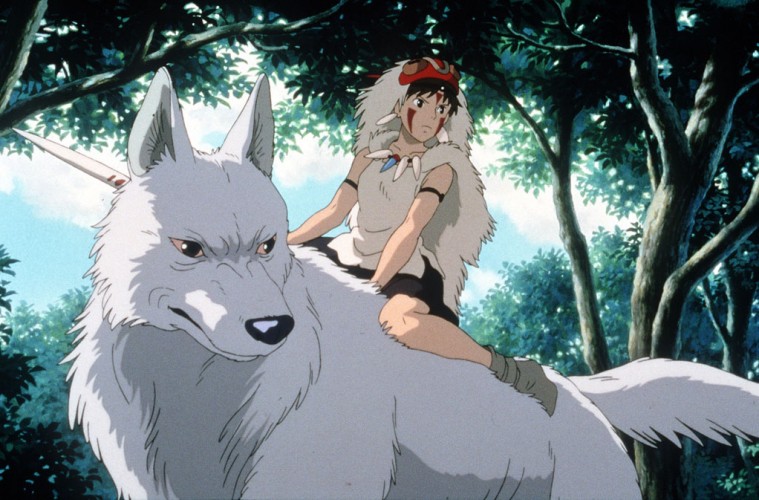
Princess Mononoke has been my favorite movie since the eighth grade, and dressing up as San for Halloween is an item on my bucket list. This year, I actually went through with it—there were actual blood sweat and tears (no, really) as I figured out the best way to create the look. But now you can learn from my mistakes and do it the easy way. Without further ado, here is my Pinterest-style DIY tutorial on how to dress up as everyone’s favorite wolf princess. I’ll start with the easiest elements and work my way up to the most difficult items to make.
Dress
Simple. Bought this from Old Navy. It’s one of their “Fit and Flare” dresses in the color “Lost at Sea.” I had wanted to sew the dress myself, but I couldn’t find a pattern that I liked, and I just stumbled upon this while browsing their website.
Top
Also from Old Navy. I just bought a plain white cami with thick straps, one size larger than I usually wear because in the movie San’s top is always billowing around. I cut down the sides, leaving about an inch of space in the middle. I layered it over the dress, and it was done!
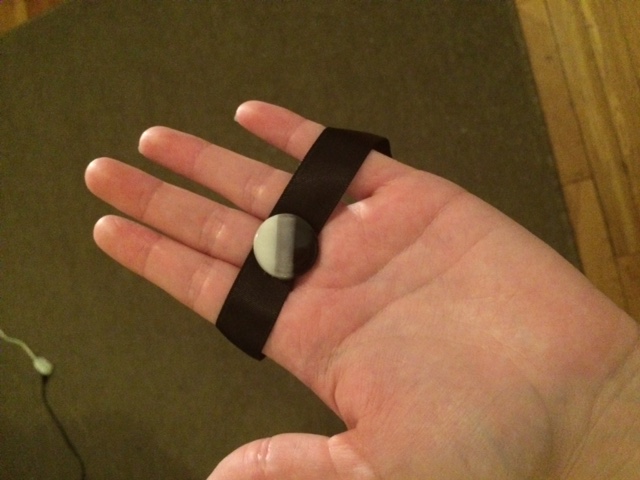
Arm and Head Bands
I managed to make these from scraps around my house. I just grabbed some black ribbon (⅝-inch thick), velcro, and some beads. I very unscientifically measured the circumference of my arms and head and cut the ribbon to the right length. I hot-glued the beads on to the middle of the ribbon and used velcro as the fastener.
Ashitaka’s Knife
The item I used for Ashitaka’s “knife” was a healing crystal that I found on Amazon. It wasn’t strictly the same as the necklace that San wears, but it achieved the same look. Instead of using the necklace chain that it came with, I braided some red cord and threaded it through pendant. If I had to do this again, I would have gotten a larger pendant.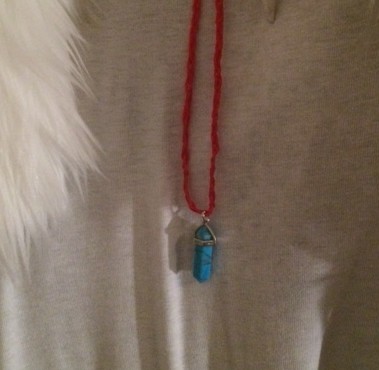
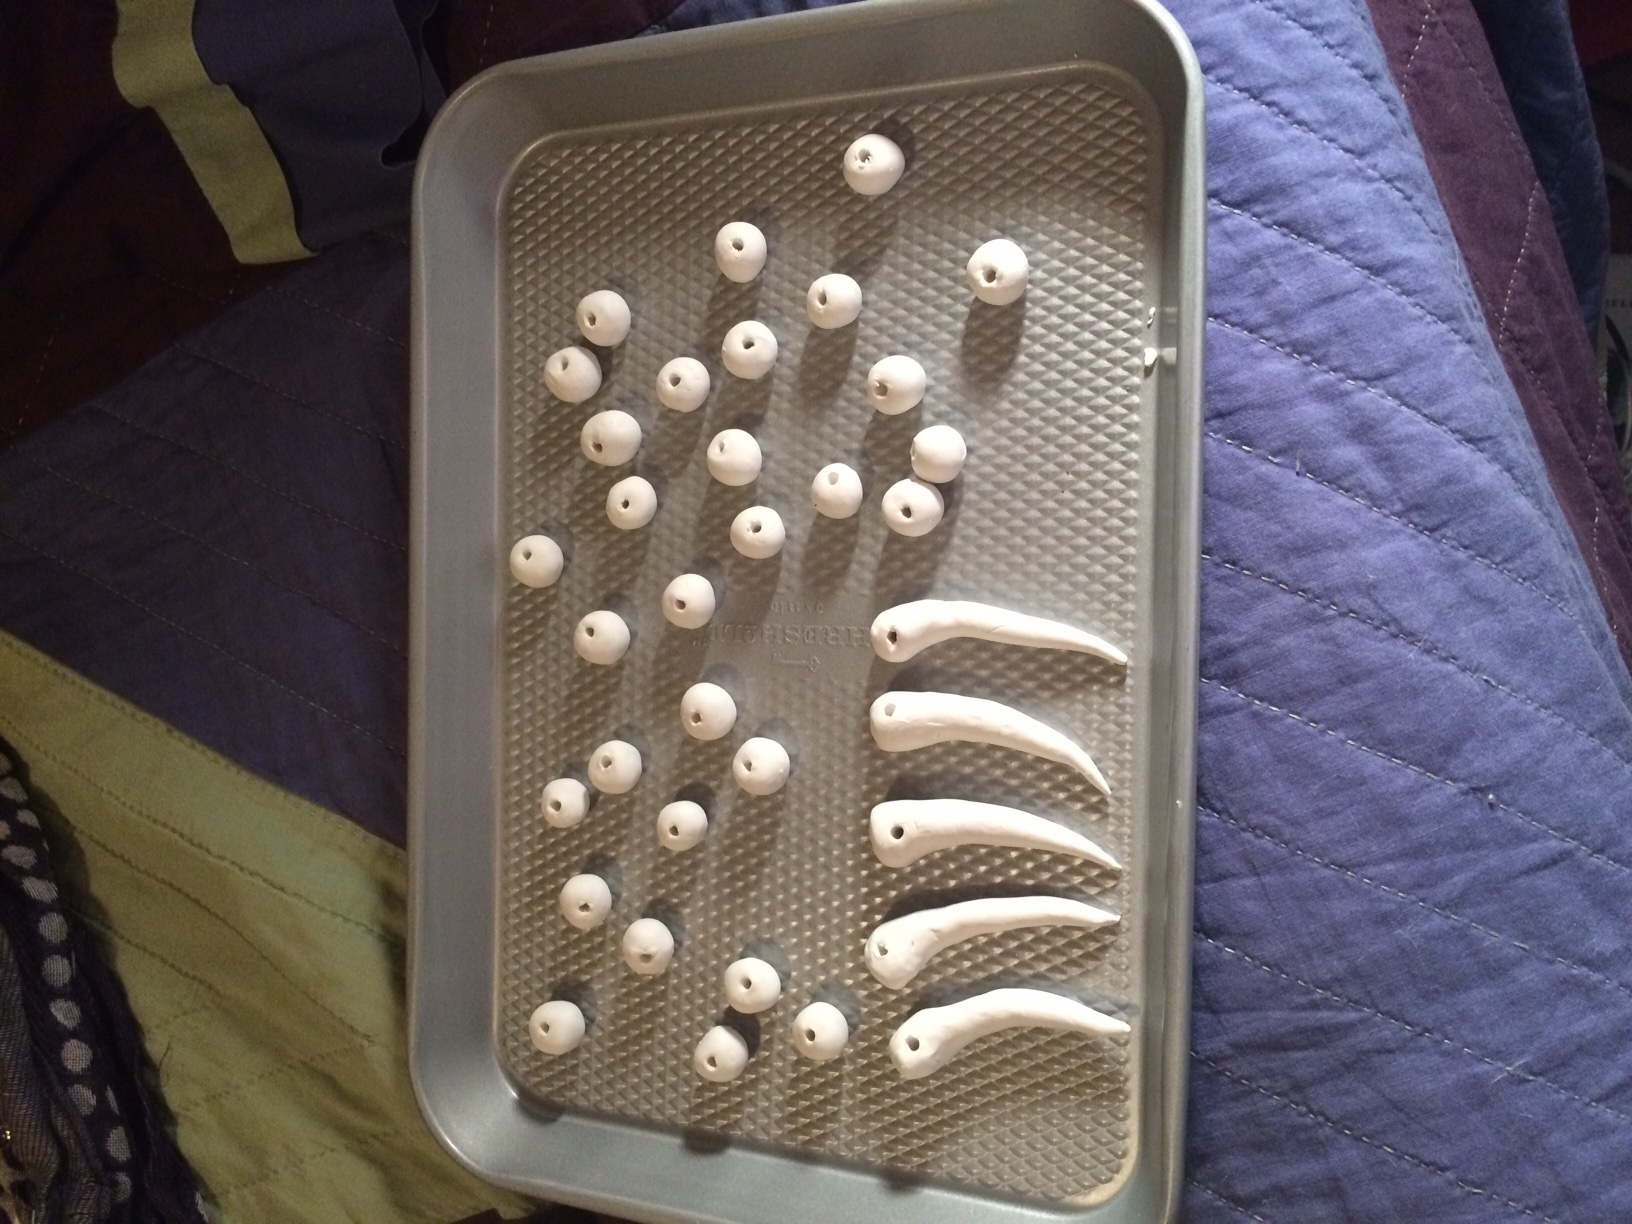
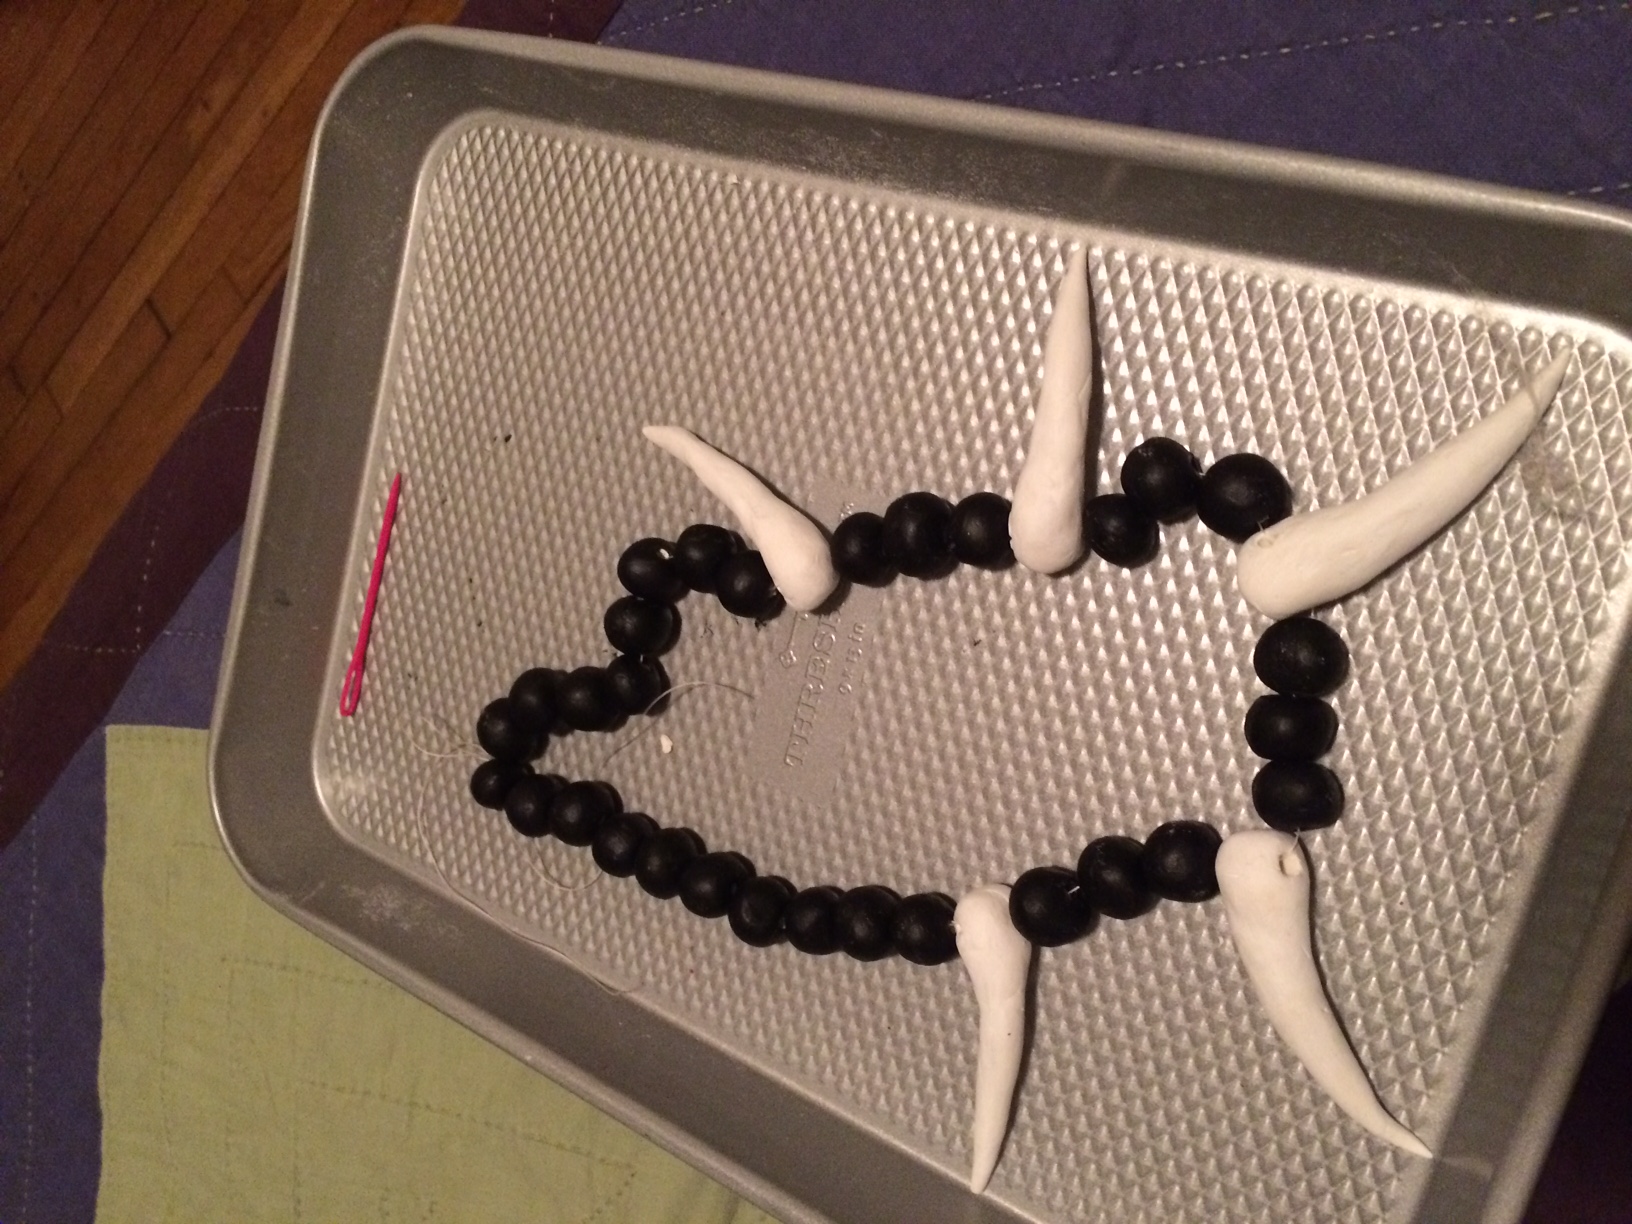
Necklace
This is where it gets really crafty. I couldn’t find any beads that I really liked, although I did find these actual boar tusks on Etsy that were appealing but slightly out of my price range. Instead I bought some white Sculpey II and made my own beads. It was pretty fun—I sculpted the “fangs” and the regular beads and then baked them according to the Sculpey instructions. I sanded them down before I painted them with acrylic paint.
Cape
I bought one yard of this white fur from Amazon, and it was more than enough. I wasn’t quite sure how to attach the cape to the dress, so instead of a proper cape I made it into a vest. It seemed more convenient for a party environment, as well. I freehanded a pattern on newspaper, which I cut out and tried on before I cut into the fabric.
The actual cape hangs down to just past my butt, and the vest portion stops at about my mid-torso. Don’t forget the tail! I cut out a strip of the fur about four inches long to attach to the bottom of the cape. I don’t have a sewing machine, so I sewed it all together by hand with upholstery thread and a curved tapestry needle, which for the most part prevented me from poking my fingers.
Word of warning: this fabric sheds a lot—I cut it with scissors, but I think if I had cut it with a blade, it would have decreased this amount of fur that is still floating around my room.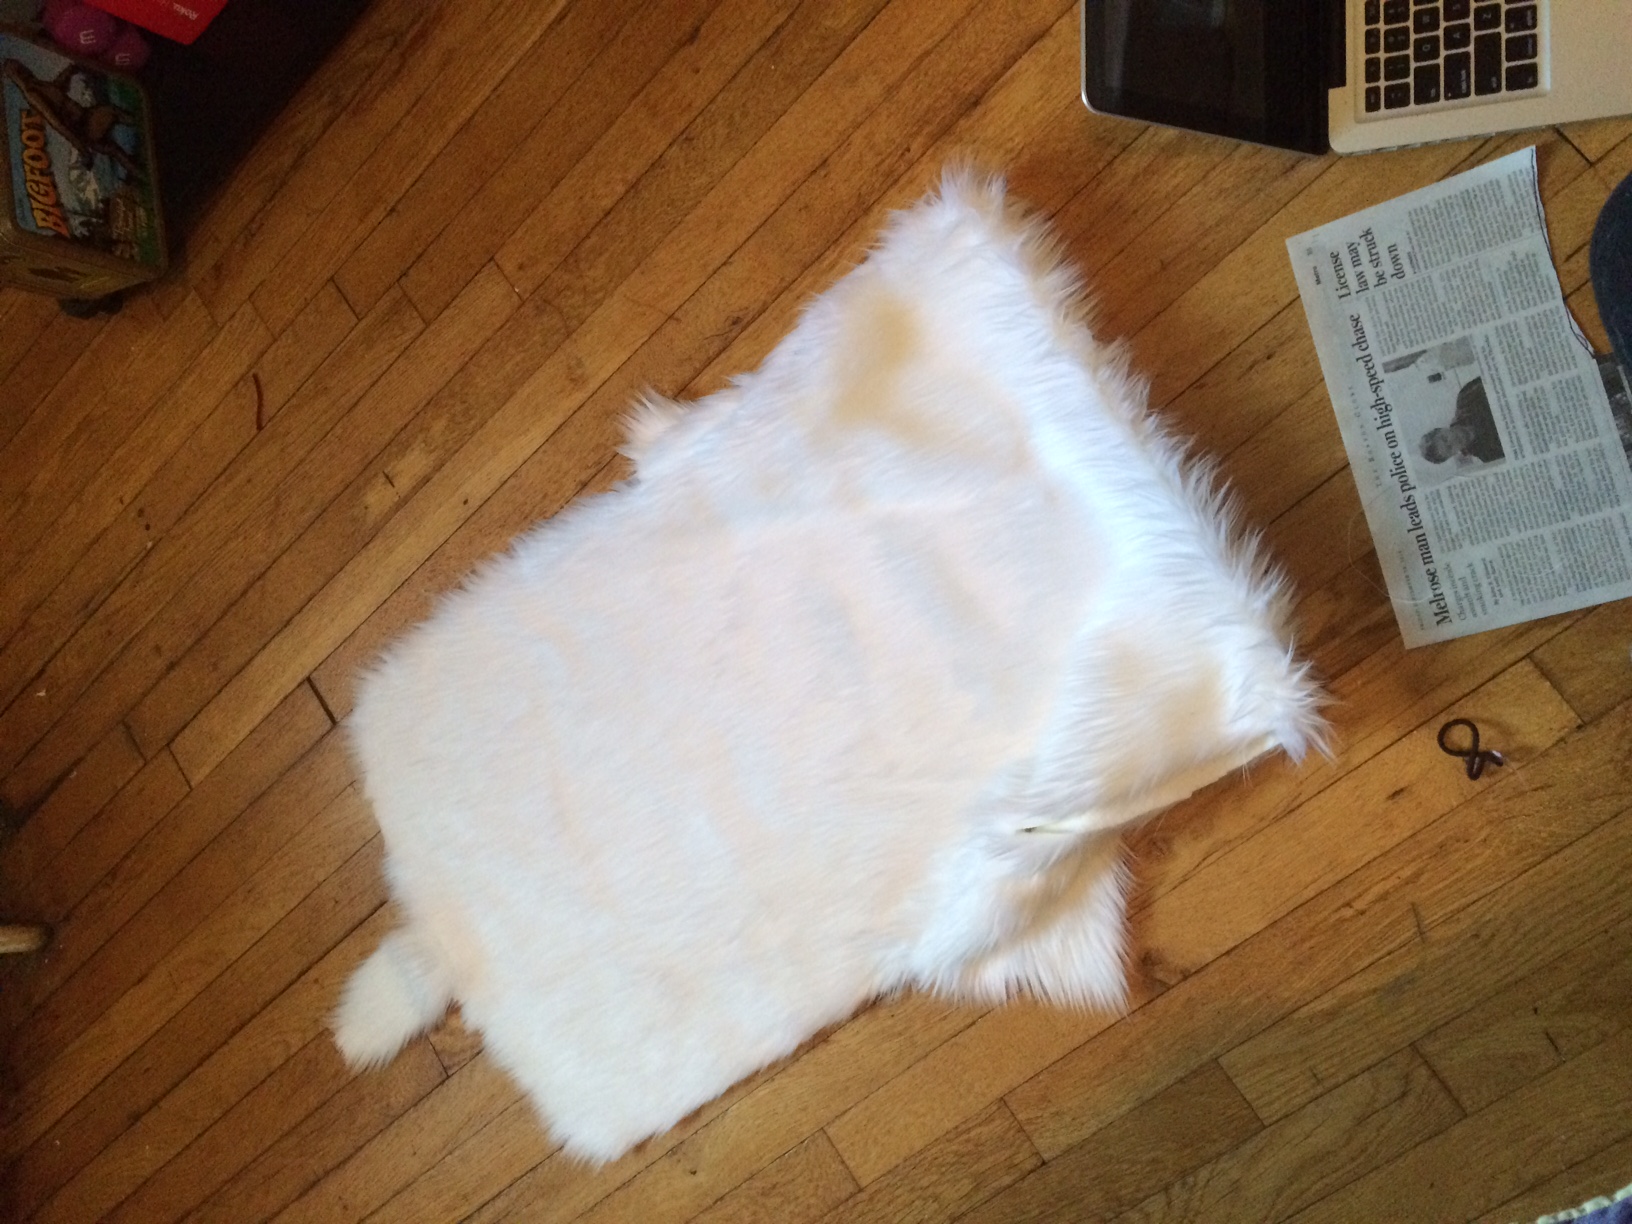
Hood
I was pretty apprehensive about the hood, but I think it turned out okay. In the movie, San’s hood is attached to her cape, but I wanted the freedom to take it off completely during any Halloween shenanigans. I used this tutorial to help me get an idea of how it would look. Again, I freehanded the pattern onto newspaper before I started cutting into the fur. It ended up being really easy to sew up. The biggest problem was the ears.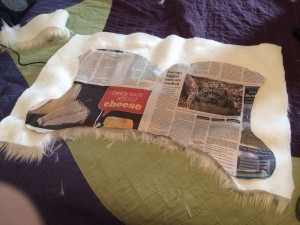
I cut the ears out of a finished paper towel tube and painted the inside red and the outside black. I poked holes in the bottom of the cardboard so that I could sew them onto the hood, which worked, sort of. They stayed on but ended up being pretty floppy. To remedy the problem, just hot glue the bottom of the ears to the hood to make them stand upright.


Mask
This mask, guys. I tried so many things—at first, I wanted to do a papier-mâché/clay combo, but the papier-mâché wasn’t sturdy enough to support the clay components. Then, I tried to do a thinner, just-clay version, but the air dry clay never got dry/sturdy enough. I ended up just painting the mask onto some cardboard and being done with it, but if I ever revisit the costume I want to try and make something slightly more elaborate.
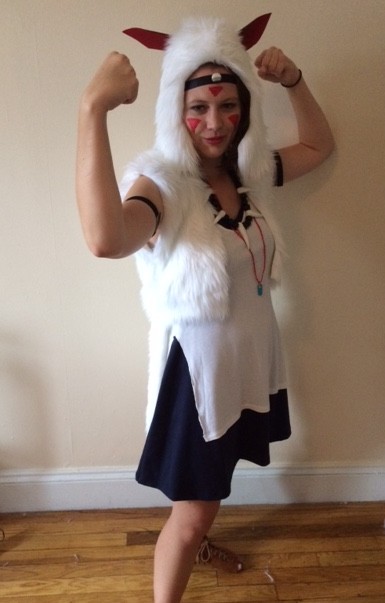
The Final Costume
Featured image via LATimes.